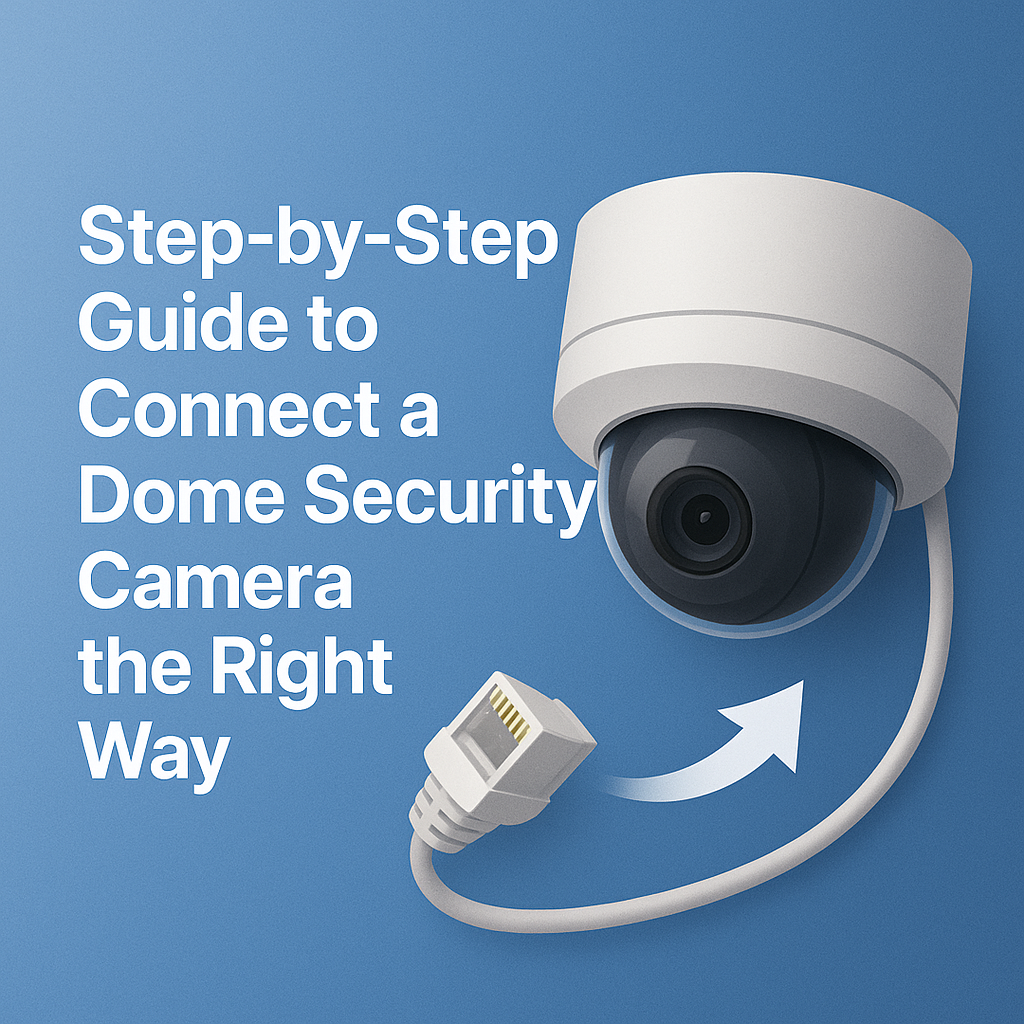
How to Connect a Dome Security Camera to Your Security System
Got a dome security camera and not sure how to set it up? Don’t worry. A lot of people get stuck at this part, but it’s easier than it seems.
You just need to know a few things — what type of camera you have, where to place it, and how to connect the wires. Once you do that, the rest is just simple steps.
This guide will show you how to connect a dome security camera to your security system.
Check Compatibility with Your Security System
Before you start, make sure your dome camera works with your security system. Some cameras are made for DVRs (the older kind) and use coaxial cables, while others are IP cameras that connect to an NVR or even straight to your Wi-Fi. Check the box, manual, or label on the camera.
If you already have a system installed at home or at work, see if it says DVR or NVR on it. If you’re not sure, you can also look at the ports — coaxial ports mean DVR, and Ethernet ports mean NVR.
Matching the right camera to the right system saves you a lot of trouble later. If your system and camera don’t match, you might need a converter or a different camera. It’s better to find this out now before you spend time mounting and wiring everything.
Choose the Right Mounting Location

Image Source: Gulf News
Picking the right spot for your dome camera is super important. You want to place it where it can see as much as possible without anything blocking the view.
Look for a high spot like a ceiling corner or the center of a wall. Make sure the area is dry and not facing direct sunlight, because too much light can mess up the image.
Also, check if the camera is rated for outdoor use if you’re placing it outside — not all dome cameras are waterproof. Before you start drilling, hold the camera up with your hand and check the view. This small step saves you from putting extra holes in the wall.
Also, think about where the wires will run. It’s always better if you can hide the cables neatly so they stay safe and look clean.
Install the Dome Camera Properly
Now it’s time to put the camera in place. Most dome cameras come with a mounting plate and a few screws. First, hold the plate where you want the camera and mark the screw holes with a pencil. Then, drill small pilot holes (if needed) and screw the plate into the wall or ceiling.
Some cameras also come with wall plugs if you’re installing them on drywall or concrete. Once the plate is secure, attach the camera to it. Most dome cameras let you move the lens a little to point it the way you want.
After mounting, double-check that the camera is tight and won’t wobble. If the camera is loose, it could move out of position over time. And don’t forget to leave enough slack in the cable so you can easily connect it to the power and video wires in the next steps.
Run the Necessary Cables
Now that your dome camera is mounted, it’s time to run the cables. If you’re using an older-style camera (DVR system), you’ll need a coaxial cable for video and a power cable to give it electricity.
If it’s an IP camera (NVR system), you’ll usually just need one Ethernet cable — and if it’s PoE (Power over Ethernet), that single cable handles both video and power. Keep the wires tucked away nicely so they don’t get pulled or damaged.
A loose cable can cause your camera to lose connection when you least expect it. It’s also smart to hide cables where possible — phrogging cases have shown that unsecured cables can sometimes be a weak spot. Whether you’re protecting against phroggers or just making sure your system works smoothly, clean wiring is key when you connect a dome security camera.
Connect the Camera to Power
Once the cables are ready, you need to give the camera power. If it’s a traditional camera, you’ll plug it into a power adapter and then into a wall socket. If it’s a PoE camera, the Ethernet cable you already connected will carry the power from a PoE switch or NVR.
Always double-check that you’re using the right voltage — using the wrong adapter can burn out the camera. Also, make sure your power source is steady.
A power loss at the wrong time could mean missing important footage, especially if you’re trying to protect your home from unusual threats like break-ins or even hidden phrogging.
After powering it up, you’re one step closer to fully connecting a dome security camera and making it part of your system. You should see a little light turn on or hear a small click — that’s your sign it’s getting power.
Link the Camera to the DVR/NVR or Network
Now comes the important part — connecting the camera to your recording system. If it’s an analog camera, connect the coaxial cable to the DVR’s video input port. If it’s an IP camera, plug the Ethernet cable into the NVR, router, or a PoE switch.
Make sure everything clicks into place properly. A loose cable can cause the video to cut out, and you don’t want that happening when you need to check your footage. Some systems auto-detect the camera once it’s plugged in, but for others, you may have to add it manually through the settings.
Linking everything the right way is how you fully connect a dome security camera to your system so it’s ready to record, alert, and protect. In cases where hidden dangers like phrogging happen, having all cameras online and recording can make all the difference.
Configure Camera Settings
After you connect a dome security camera to your system, it’s time to set it up the way you want. Go into your DVR, NVR, or camera app and find the settings menu. Here you can adjust things like the picture quality, motion detection areas, night vision settings, and more.
It’s best to change the default username and password too — many people forget this part, but it’s one of the best ways to keep your system safe. You can also set how the camera records: nonstop, by motion, or on a schedule.
Taking the time to configure everything properly makes a big difference. You want the camera to catch what matters, not just waste storage space. A well-set camera also helps if you’re worried about hidden dangers like phroggers sneaking around undetected.
Test the Video Feed and Adjust Angle
Before you call it done, check that everything’s working right. Look at the live video feed from your dome camera on your monitor or app. Make sure the picture is clear, and that the camera is pointing exactly where you need it.
Sometimes you need to loosen the cover, move the lens a little, and tighten it back up to get the best view. A few extra minutes here can save you a lot of headaches later. If your camera is tilted too high, you might miss important things closer to the ground. If it’s too low, you might miss people’s faces.
When you connect a dome security camera, testing and adjusting the angle is one of the most important steps to make sure you’re fully covered — whether you’re keeping an eye on your front door, driveway, or making sure no one’s sneaking around your property.
Final Thoughts
So that’s how you connect a dome security camera without any stress. Once you do it step-by-step, it’s actually pretty simple.
Just make sure the camera fits your system, place it in a good spot, and set everything up the right way. Take a little extra time to check the view and test the feed — it’s worth it.
A small mistake now could cause trouble later. When everything’s set right, your camera will work for you day and night, keeping your home safe from anything — even things like phrogging.
FAQs
Can I add a camera to my security system?
Yes, you can add a camera to most security systems. Just make sure the new camera matches your DVR, NVR, or app. Connect the cables, turn on the camera, and check the picture. Some systems also let you add cameras wirelessly, which makes the setup even easier.
How to mount a dome camera?
First, pick the right spot with a clear view. Use the camera’s mounting plate to mark holes on the wall or ceiling. Drill pilot holes, add anchors if needed, and screw the plate firmly. Attach the camera to the plate, adjust the lens, and tighten everything to hold it steady.
How to connect an IP dome camera?
To connect an IP dome camera, run an Ethernet cable from the camera to a PoE switch, NVR, or router. The cable handles power and video. Once connected, use the camera’s app or the NVR to find the camera and set it up. Make sure you secure it with a strong password.
What are the disadvantages of dome cameras?
Dome cameras are great for looks and protection, but they have some downsides. They can be harder to adjust after installation. Some cheaper models may not handle extreme weather well. Also, cleaning the dome cover is important, because dust or scratches can blur the camera’s view over time.
Where not to install security cameras?
Avoid putting cameras in private spaces like bathrooms or bedrooms — it’s illegal and invades privacy. Don’t install them facing direct sunlight either, as it can ruin the picture. Also, avoid placing cameras too low where they can be easily damaged or tampered with. High, hidden spots work better.