Wall Mounting a Dome Camera: Step-by-Step Installation Guide
- Info and Tips
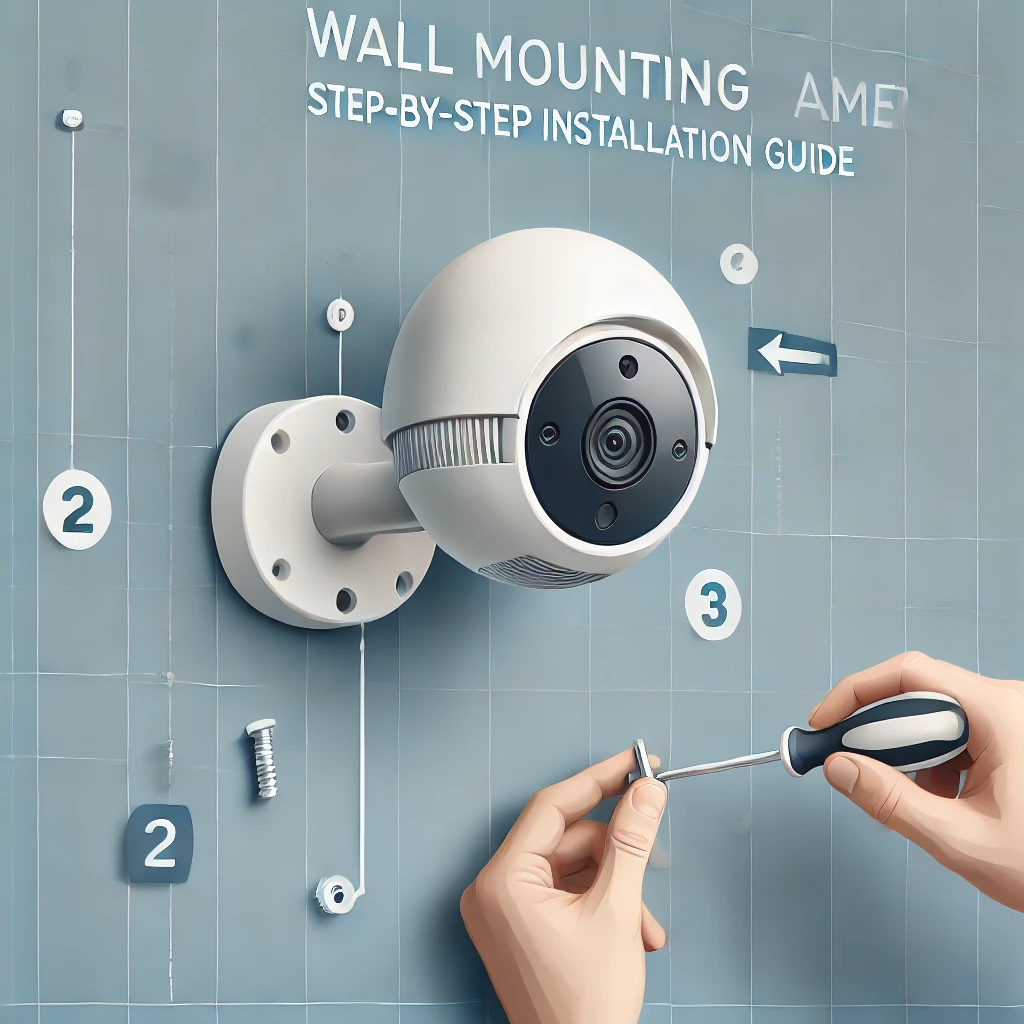
Wall Mounting a Dome Camera: Everything You Need to Know
Mounting a dome security camera on a wall is an effective way to improve surveillance, especially for areas like doors, driveways, or hallways. Unlike ceiling mounts, wall installation needs careful positioning to avoid blind spots.
With the right tools and a good setup, you can securely install your dome camera for reliable coverage.
Let’s walk through the steps to get it done.
How to Prepare for Wall Mounting a Dome Camera Installation
Proper preparation is key to a successful dome security camera installation. With the right tools and a solid plan, you can ensure secure and effective mounting.
Select the Ideal Mounting Location
Choose a spot that provides clear coverage while deterring tampering. Mount the camera 8-10 feet high for a good balance between security and visibility. Avoid placing it near bright lights or windows to prevent glare.
For outdoor cameras, ensure there are no obstructions like trees or signs blocking the view.
Gather Necessary Tools and Equipment
Before you start, gather the required tools: a power drill, screws, anchors, screwdriver, level, and cable management accessories. Many dome cameras include a mounting template to simplify the process.
If your camera is wired, plan the cable routing and protect it from the weather. For wireless cameras, ensure they’re within Wi-Fi range for a strong connection.
Step-by-Step Guide to Wall Mounting a Dome Camera
Installing a dome security camera on a wall requires precision to ensure stability and optimal coverage. Following these steps will help you securely mount your camera and set it up for effective surveillance.
Mark and Drill the Mounting Holes
Start by holding the camera’s mounting template against the wall at your chosen location. Use a pencil to mark the spots where the screws and wiring will go. If your camera has a junction box, align the template accordingly.
Next, drill the marked holes using a power drill. If you’re mounting on drywall, brick, or concrete, use wall anchors to ensure a firm hold. This step prevents the camera from loosening over time, especially in outdoor conditions.
Securing the Camera Bracket and Wiring
Attach the camera’s mounting bracket to the wall using screws. Make sure it is level and tightly secured to avoid misalignment. If your camera is wired, feed the cables through the designated hole before attaching the bracket.
For a wireless dome camera, ensure it’s within a strong Wi-Fi range to avoid connectivity issues. If using PoE (Power over Ethernet) cameras, make sure the Ethernet cable is properly routed to provide both power and data transmission.
Attach and Adjust the Dome Camera
Once the bracket is in place, mount the dome camera onto it. Depending on the model, you may need to screw it in or snap it onto the bracket. After securing the camera, adjust its viewing angle to ensure maximum coverage.
Also, place the protective dome cover over the camera lens. Tighten it properly to prevent dust, moisture, or tampering. Now, your wall-mounted security camera is ready to monitor your space, providing reliable surveillance and protection.
Test and Adjust Your Wall-Mounted Dome Camera
Once your dome security camera is installed, it’s important to test and fine-tune its settings to ensure it captures clear and useful footage. Proper adjustments will help you get the best performance from your camera.
Check the Camera Angle and Coverage
After mounting, check the live feed from your camera to see if it’s covering the intended area.
If needed, slightly adjust the camera’s tilt or rotation to remove blind spots and improve visibility. Make sure entry points, walkways, or parking areas are fully visible in the frame.
It’s also important to test different lighting conditions. Check the footage during the day and at night to ensure the infrared night vision or low-light performance is working properly. If the camera is capturing glare from lights or the sun, adjust its position or enable WDR (Wide Dynamic Range) if your camera has this feature.
Ensure a Stable Connection and Power Supply
For a wired security camera, verify that the cables are properly connected and there are no loose or exposed wires. If you’re using a PoE camera, check if it’s receiving both power and data through the Ethernet cable.
For a wireless dome camera, make sure the Wi-Fi signal is strong enough to prevent video lag or disconnections. If the signal is weak, consider using a Wi-Fi extender or repositioning the router for better coverage.
Final Security and Weatherproofing Checks
If the camera is installed outdoors, ensure that all seals and weatherproof covers are tightly secured to protect against rain, dust, and extreme temperatures. For added security, check if the camera’s motion detection, alerts, and recording settings are properly configured in the app or system.
Once everything is set, your wall-mounted dome security camera is ready to provide reliable surveillance, giving you peace of mind and enhanced security.
Conclusion
Wall-mounting a dome camera is a simple way to improve security around your home or business. Pick a good camera, follow the basic steps, and make sure it’s aimed and secured properly.
Whether it’s wired or wireless, placing it in the right spot and checking the connection helps you get clear footage. Once it’s set up, the camera can watch over your space and keep things safe.
FAQs
1. What should I consider when installing security cameras?
When setting up cameras, make sure to cover all entry and exit points, your driveway, and the street in front of your home. Keep the cameras aimed only at your property to respect others’ privacy. Place cameras where they’re visible, securely attach them to your walls or ceilings, and make sure the system has enough storage space for recordings.
2. What are the downsides of dome cameras?
Dome cameras are less noticeable, so they don’t always act as a strong visual deterrent. Adjusting their angle can be tricky—you usually need to take the cover off or remount the camera. Also, the infrared night vision may not work well if the light bounces off the dome’s surface.
3. How far can a dome camera see?
Most dome cameras can see from about 30 to 100 feet. They offer a wide-angle view, which makes them ideal for indoor areas like hallways, entryways, and office spaces.
4. What are the main parts of a camera?
All cameras have a few key parts: the lens (to focus light), the image sensor (to capture the picture), and the body (which holds everything together). Many cameras also include a shutter, aperture, viewfinder, and memory card slot.
5. What are the basic rules for using CCTV?
Only use CCTV for clear and valid reasons, like improving security. Don’t point cameras where they capture more than needed. Always let people know they’re being recorded by putting up a sign. If someone appears in your footage and asks for it, you may need to provide a copy, depending on local privacy laws.