Step-by-Step Guide to Installing a Dome Security Camera | Easy DIY Setup
- Info and Tips
Step-by-Step Guide to Installing a Dome Security Camera
Installing a dome security camera is one of the best ways to protect your home from phrogging. These cameras offer a sleek, discreet design while providing wide-angle coverage and durability. Whether you’re securing an entryway, monitoring a parking lot, or enhancing indoor surveillance, proper installation is key to maximizing performance.
In this blog, we’re going to share a guide about installing a dome security camera.
Here are Some Pre-Installation Preparation Tips
You can follow these pre-installation tips.
Clear the Area Before You Begin
Before starting any installation, make sure the space is completely clear. Remove any furniture, boxes, or clutter around the area where the product will go. This gives you enough room to work comfortably and avoids accidents or delays during installation.
Make Sure You Have All the Tools and Parts
Take a few minutes to check the installation kit and make sure nothing is missing. Lay out all the tools and parts you’ll need — like screws, brackets, or special tools. This small step can save you from mid-installation stress or an unnecessary trip to the hardware store.
Read the Installation Manual First
Even if you’ve done similar setups before, always read the instructions that come with your product. Every model is a little different. Going through the manual beforehand helps you understand the process better and prevents common mistakes that can lead to damage or delays.
Turn Off Power or Water Supply if Required
If the installation involves any electric appliance or plumbing fixture, make sure to turn off the power or water supply first. This is a safety must. Skipping this step can cause serious damage — or worse, personal injury.
Don’t Be Afraid to Ask for Help
If the item you’re installing is heavy, awkward to lift, or needs to be held in place while you fasten it, ask someone to give you a hand. Trying to do it alone could lead to injury or damage to the item. A second pair of hands can make things go much faster and smoother.
How to Install the Dome Security Camera
Here’s a step-by-step guide to installing a Dome Security Camera.
Mount the Camera
Start by positioning the mounting bracket on the selected surface and marking the drill points with a pencil. Use a drill to create holes at the marked points, then insert wall anchors if installing on drywall, brick, or concrete.
Secure the bracket using screws and ensure it is firmly in place. If your dome camera has an adjustable base, tilt and rotate it to cover the desired field of view before securing the camera to the bracket.
Also, attach the dome cover. This makes sure it is tightly sealed to protect the camera lens from dust and tampering.
Running Cables (For Wired Cameras)
If you’re installing a wired dome security camera, you’ll need to run the necessary cables to connect it to power and your recording system. Plan the cable route to minimize exposure and keep the installation neat.
Running cables along walls, ceilings, or inside conduits can protect them from damage and tampering. For Power over Ethernet (PoE) cameras, a single Ethernet cable will handle both power and data. Plug the cable into the camera and connect it to your PoE switch or NVR (Network Video Recorder).
If your camera requires a separate power adapter, ensure it’s connected to a stable power source. Once all cables are securely in place, test the camera feed to confirm proper connectivity.
Connect a Wireless Dome Camera
Start by powering the camera using the included adapter or battery, depending on the model. Open the manufacturer’s mobile app or web interface and follow the instructions to connect the camera to your Wi-Fi network.
Make sure the Wi-Fi signal is strong at the installation location to prevent lag or connectivity issues.
Once the camera is connected, configure the settings such as motion detection, video quality, and alerts. For added security, set up a strong password and enable encryption to prevent unauthorized access.
Configure & Test the Camera
After installing your dome security camera, the next step is configuring its settings and testing its functionality.
Set Up Camera Software & Storage
Most dome security cameras come with a companion app or software for setup and monitoring. If your camera connects to an NVR or DVR, ensure it’s properly linked.
Open the app or software and follow the instructions to add your camera. During the setup, you’ll need to configure storage options.
Some cameras support local storage via an SD card, while others rely on cloud storage or an NVR. Choose the option that best fits your needs. If using cloud storage, make sure to subscribe to a reliable plan with sufficient space.
Adjust Camera Settings
To get the best video quality and security coverage, adjust your camera settings based on your location and needs.
Increase the resolution for clearer footage but consider storage limitations, as higher resolution uses more space. If your dome camera has night vision, test the infrared (IR) settings to ensure clear recording in low-light conditions.
Fine-tune the motion detection sensitivity to avoid false alarms from moving trees, pets, or shadows. Set up activity zones to focus on important areas like doors and driveways while ignoring less relevant spaces.
Test Camera Functionality
Once your settings are configured, perform a few tests to ensure everything is working correctly. Check the live feed from your app or computer to confirm clear video quality.
Walk through the monitored area to test motion detection and alerts. If your camera has two-way audio, test the microphone and speaker to ensure communication works.
Verify that recorded footage is saving correctly to your chosen storage option. If you experience connectivity issues, check your Wi-Fi strength or cable connections.
A properly configured and tested dome security camera provides reliable surveillance, helping you keep your property safe. Regularly reviewing settings and maintaining the camera will ensure it continues working at its best.
Here are Some Maintenance & Security Tips
After installing and configuring your dome security camera, regular maintenance and security checks are essential to ensure long-term performance and protection.
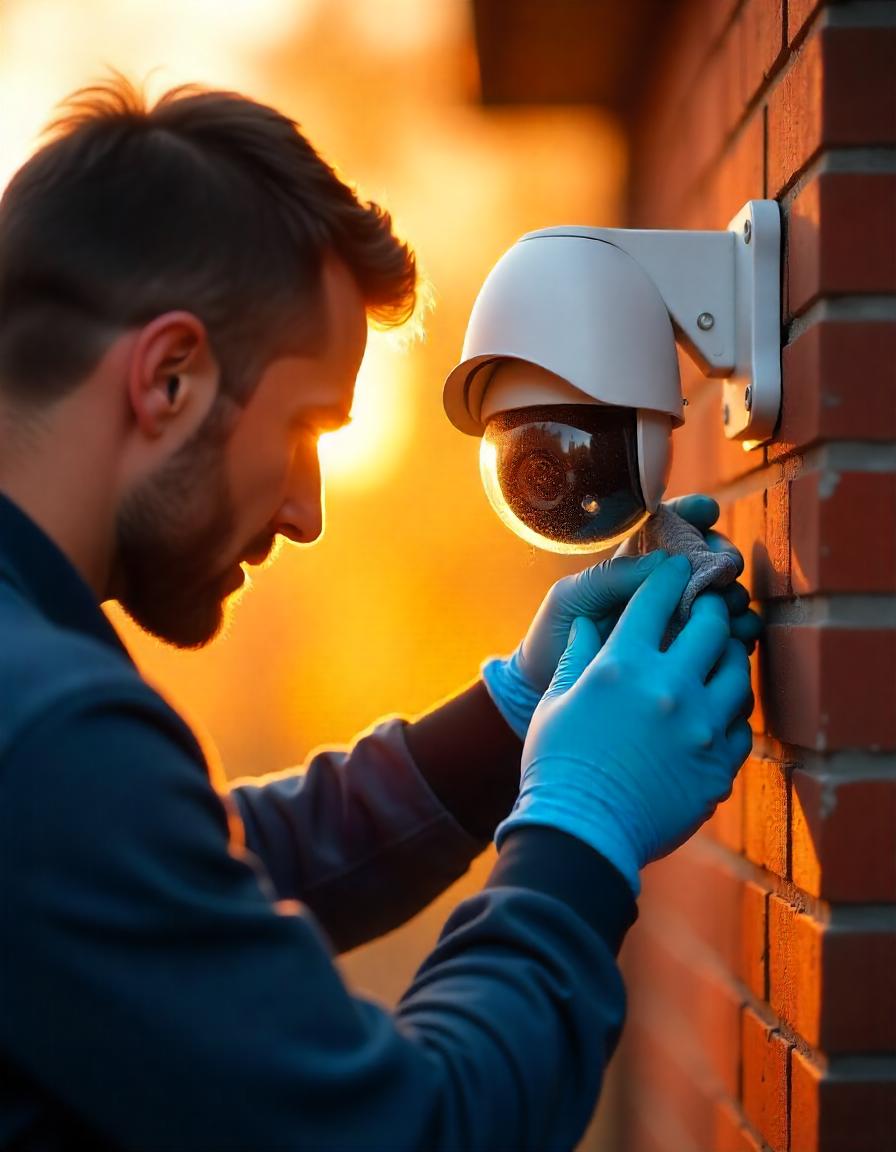
Regular Cleaning & Lens Maintenance
Over time, dust, dirt, and weather conditions can affect the clarity of your camera footage. Clean the dome cover regularly using a microfiber cloth and a non-abrasive cleaner to prevent smudges and blurry images.
If the camera is installed outdoors, check for spiderwebs, water spots, or debris that could obstruct the lens.
Update Firmware & Software
Manufacturers often release firmware updates to fix bugs, improve performance, and enhance security. Check your camera’s app or software regularly for updates and install them as soon as they’re available.
Keeping your camera’s firmware up to date helps prevent cyber threats and ensures compatibility with new features.
Secure Your Camera Against Hackers
Since security cameras are connected to your network, they can be vulnerable to hacking if not properly secured. Change the default password immediately after installation and use a strong, unique password.
Enable two-factor authentication (2FA) if available. If your camera supports encryption, turn it on to protect video transmissions.
For wireless cameras, connect them to a secure, password-protected Wi-Fi network and disable remote access if you don’t need it.
Check Power & Connectivity
Ensure your camera remains functional by regularly checking its power source and internet connection. If using a battery-powered dome camera, monitor battery levels and recharge or replace them as needed. For wired cameras, inspect cables for any wear or damage that could cause connectivity issues.
Conclusion
Installing a dome security camera isn’t as hard as it sounds. If you follow each step one by one — like picking the right spot, setting up the wires, and adjusting the camera — you’ll get it done smoothly. Make sure everything is tight, test the camera, and check the video to be sure it’s working well.
Whether it’s for your home or office, a well-installed camera helps you feel safe and protected.
FAQs)
How high should a dome security camera be mounted?
For optimal coverage, mount your camera 8 to 10 feet high. This height prevents tampering while providing a clear view of the area.
Can I install a dome security camera without drilling?
Yes, some cameras come with adhesive mounts, but drilling provides better stability, especially for outdoor installations.
Do dome security cameras need Wi-Fi?
Wireless dome cameras need Wi-Fi, but wired models can connect via Ethernet or a DVR system without needing an internet connection.
What is the difference between PoE and wireless dome cameras?
PoE (Power over Ethernet) cameras use a single cable for power and data, making them reliable but requiring cable installation. Wireless cameras connect via Wi-Fi, offering flexibility but requiring a strong signal.
How do I prevent my security camera from being hacked?
Use a strong, unique password, enable two-factor authentication (2FA), update firmware regularly, and ensure your network is secure.